Managing Groups
As with roles, groups provide a powerful tool for designing a security and access model for an Aunsight context. With groups, Aunsight administrators can streamline the way they grant access to Sightglass dashboards or other tools hosted in Aunsight. Administrators can manage groups through the Groups tab of the Team workspace in the Aunsight Web interface. This article explains how to view existing groups in an organization, create a new group, edit various details about groups, and delete groups entirely. After reading this article, users should be able to implement groups as a part of their security and access model for analytics projects.
Viewing Groups
To see what groups exist in a specific context, log in to the Web interface and select the context you wish to work in. If you have the AU-ORG:view-any-member or AU-ORG:view-any-project-member-in-any-project permissions in that context, you will have authorization to access the Team workspace. Click the "Workspace" icon (![]() ) in the palette on the right to go to this workspace.
) in the palette on the right to go to this workspace.

To begin working with groups, click the "Groups" tab.
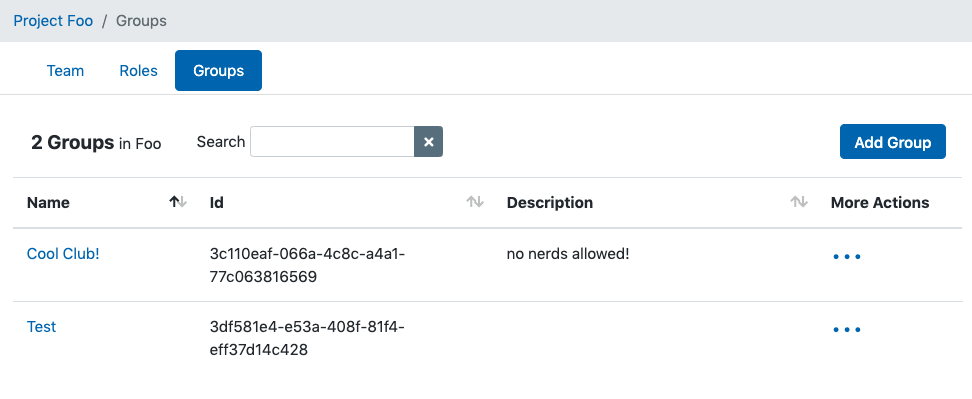
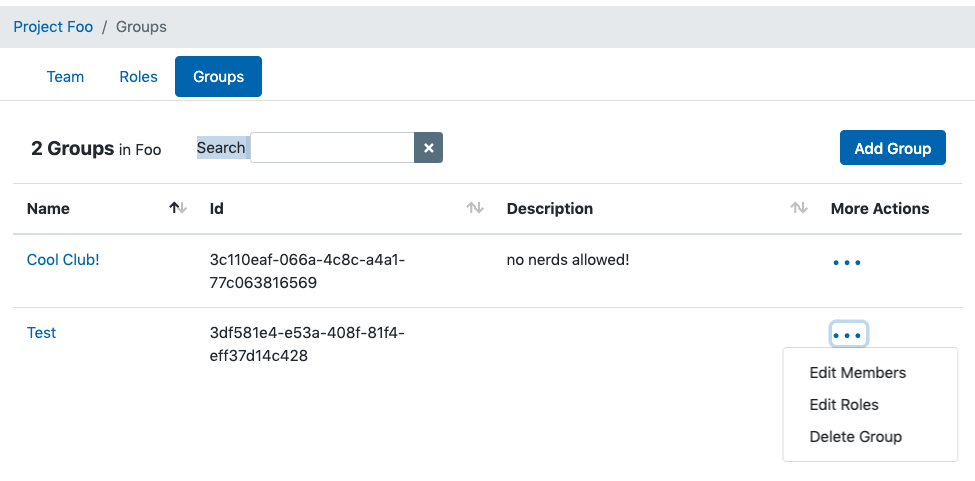
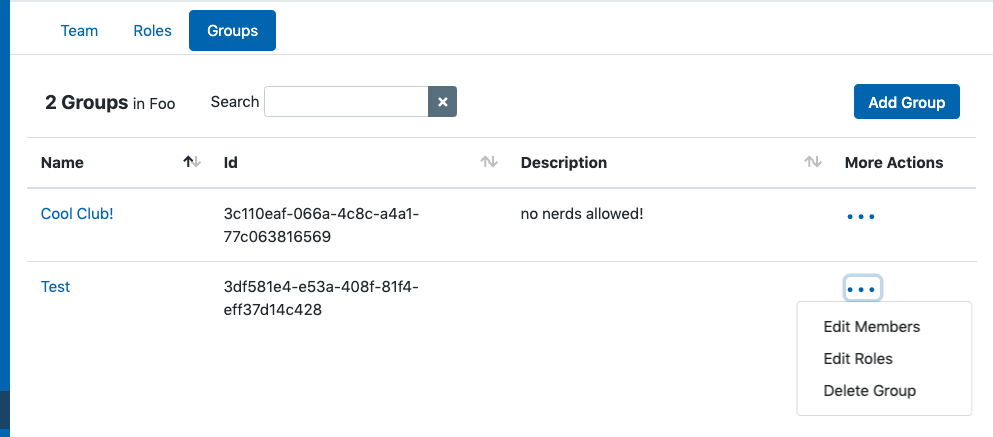
This tab will display a list of groups that exist in the current workspace. Users can edit a group by clicking the group's name to bring up its details, or edit members, edit roles, or delete a group by clicking the ellipses icon ( ) in the "More Actions" column to bring up links to these actions.
Create a New Group
To create a new group, click the "Add Group" button ( ) in the upper right corner of the groups tab.
This will bring up a dialog where you can specify a name and description for the group you want to create.
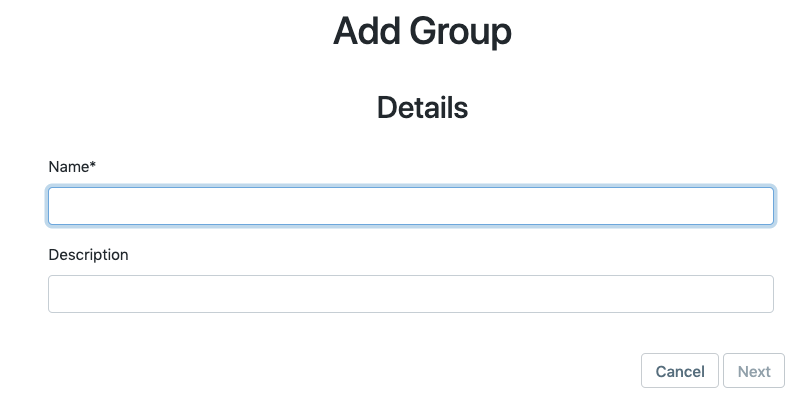
Once you have entered this information, click "Next" to specify group roles or cancel to exit.
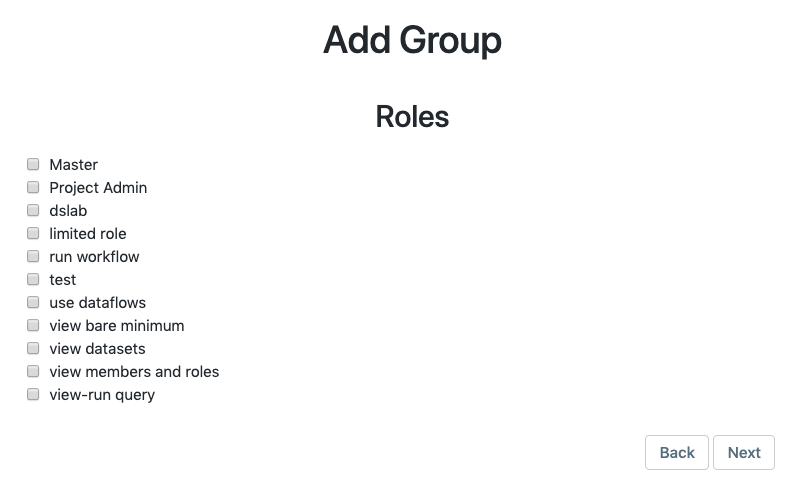
Check any roles you would like to add to the group and click "Next" to continue or "Back" to return to the name and description.
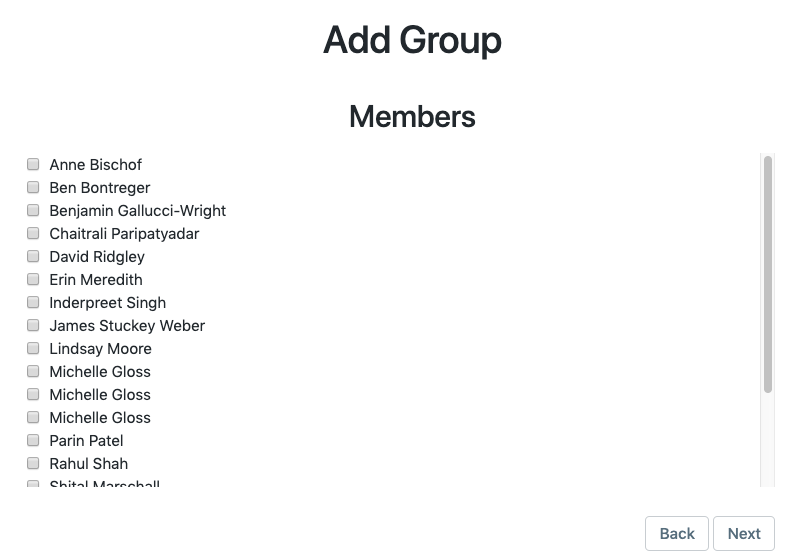
Check the name of any members to whom you would like to grant access to the group and click "Next" to finalize your group settings or "Back" to return to the roles.
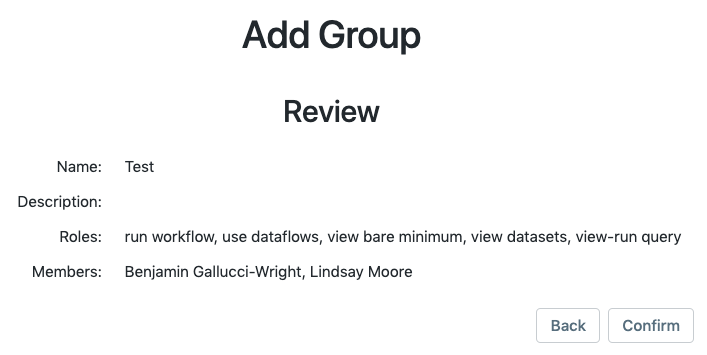
On the review page, the settings you have selected will be summarized. To accept these settings and create a new group, click "Confirm." To go back and make changes, click "Back."
Once you confirm these settings, Aunsight will create a new group and confirm with a message once the Platform has successfully registered the changes.
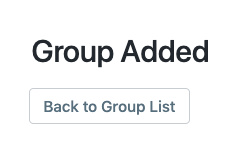
Click "Back to Group List" to return to the groups tab.
Edit a Group
To view or edit a group click the name of the group you wish to edit from the Groups tab.
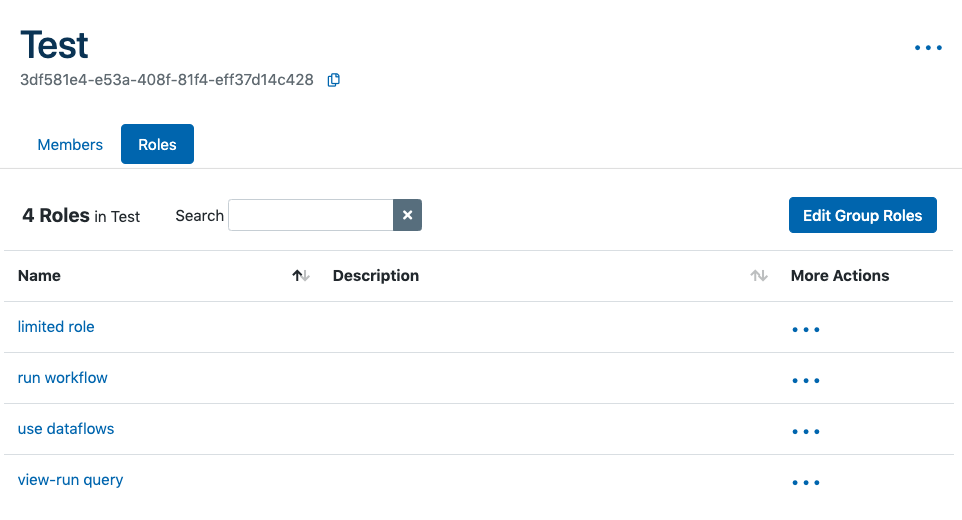
This group details view offers two tabs that allow users to view or edit details about two aspects of groups: Members and Roles.
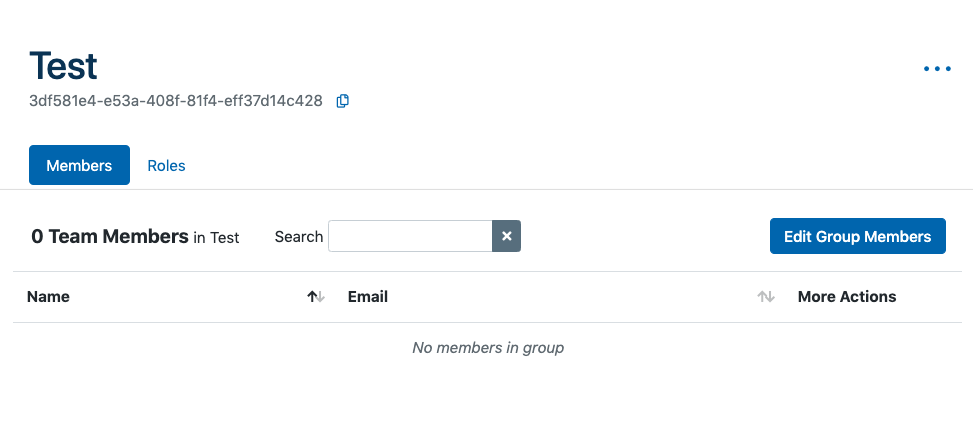
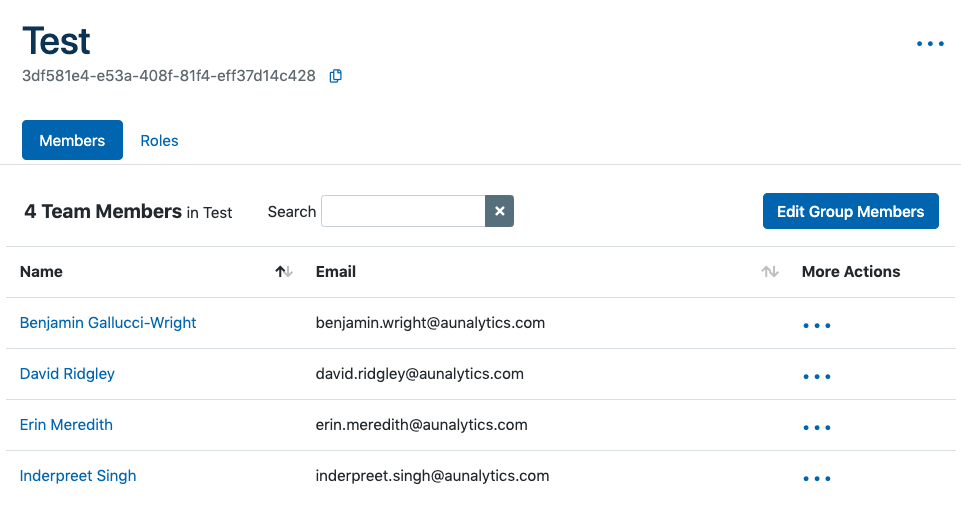
Edit Group Membership
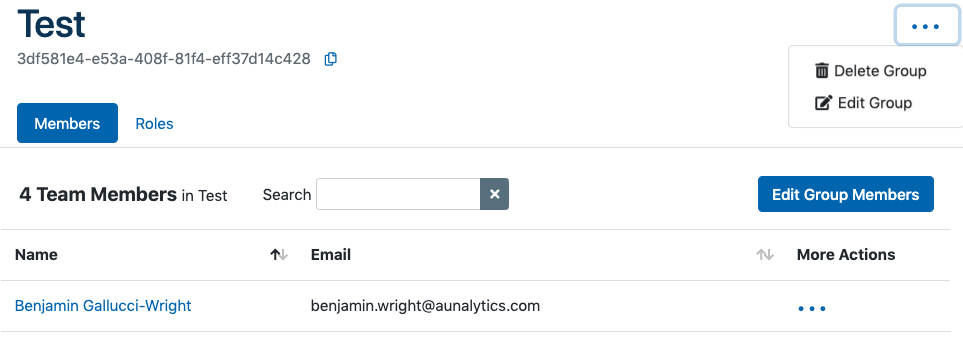
The Member's tab displays a roster of current members of a group. To add one or more members, click the "Edit Group Members" ( ) button to bring up a dialog for adding new members.
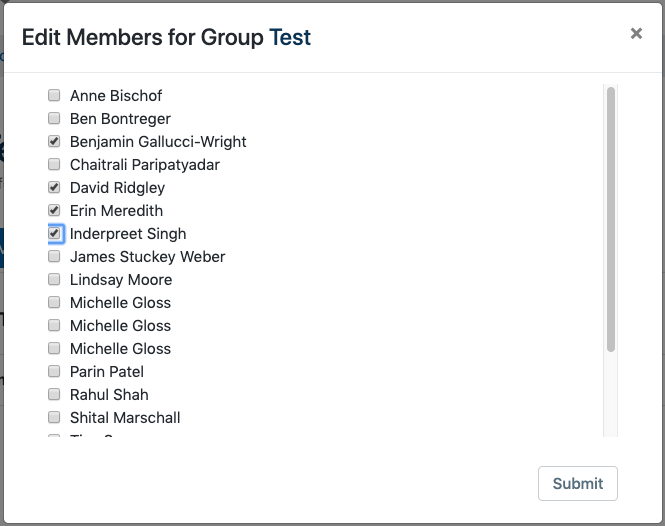
The dialog will display a list of all members within the current context. Checking or unchecking a name will add it to or remove it from the group. When you are done making changes, click "Submit" to apply these changes to your group.
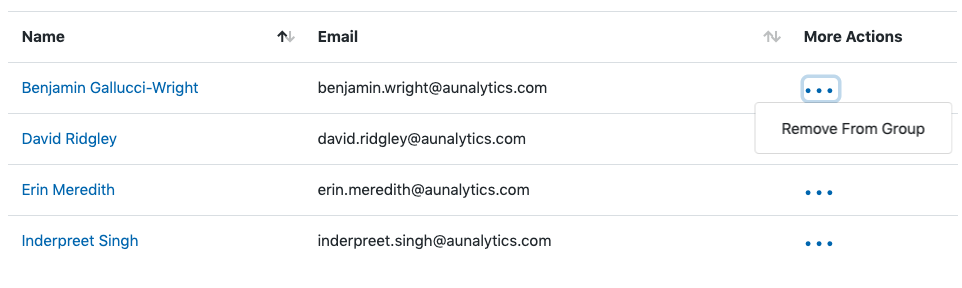
Users can also remove members from a group directly from the group roster by clicking the ellipses icon () in the "More Actions" column.
Edit Group Roles
As with editing a group's membership, users can edit the roles assigned to a group from that group's "Roles" tab.

To add or remove one or more roles, click the "Edit Group Roles" ( ) button to bring up a dialog for adding or removing roles.
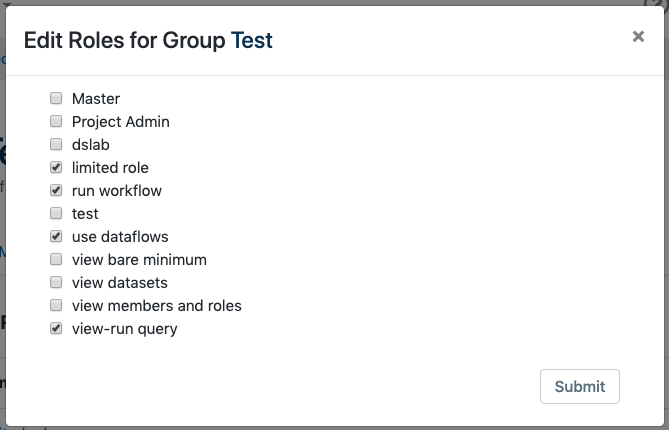
The dialog will display a list of all roles within the current context. Checking or unchecking a role will add or remove it from the group. When you are done making changes, click "Submit" to apply these changes to your organization.
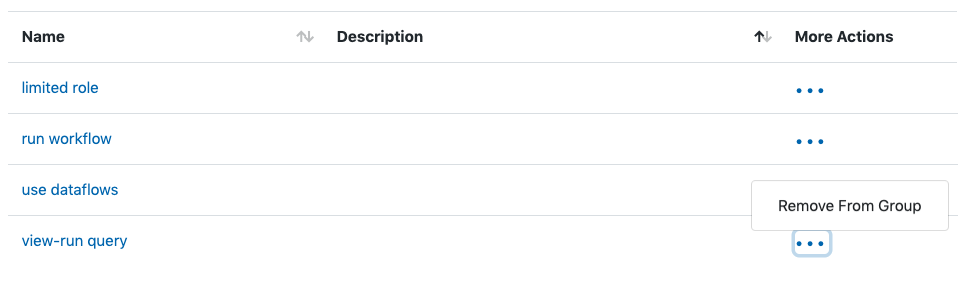
Users can also remove roles from a group directly from the group roster list by clicking the ellipses icon () in the "More Actions" column.
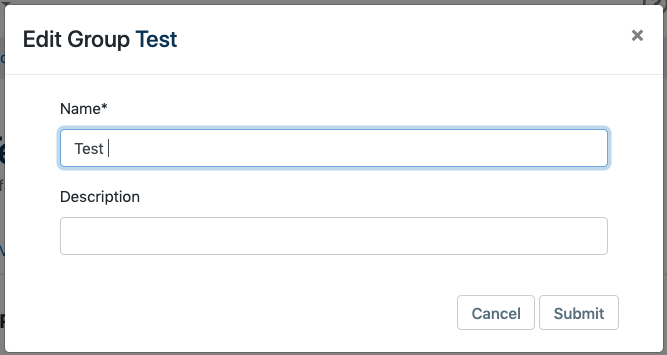
Editing Group Name and Description
In addition to members and roles, users can click the ellipses icon () in the upper right corner of the window and select "Edit Group" to edit the name and description of a group.
This will bring up a dialog where users can enter a new name and description for their group.
Delete a Group
To delete a group, users can click the ellipses icon () in the upper right corner of the window and select "Edit Group" to edit the name and description of a group.
Clicking "Delete Group" will bring up a confirmation window.
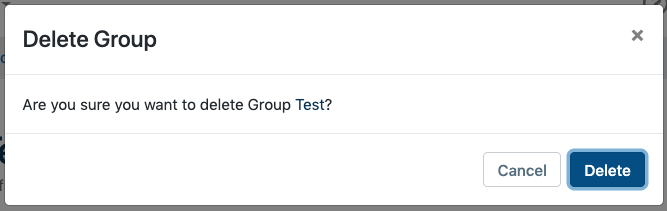
Caution
Group deletion is irreversible!
Users can also delete groups directly from the groups tab of the Team workspace. Click the ellipses icon () in the "More Actions" column and then select "Delete Group" to delete a group. This will bring up the same confirmation window as the other delete process.