Deploy a Member-Specific Sightglass Filter
Aunsight pushes well-formed Sightglass solution data to a Cloud database where users of the mobile or web apps can easily access this data. Published versions of a Solution contain just one dataset, but it is sometimes helpful or necessary to filter the data that particular users see in their dashboard. Sightglass data source filters allow Sightglass administrators to define rules for filtering data before it even reaches a member's mobile device or web browser. This provides an added level of data privacy and security, and enables Sightglass solution creators to design one solution and easily adapt it to users with different data consumption needs.
This article describes how to manage member-specific Sightglass filters to limit (1) the dashboard tools that are visible to that user, or (2) the underlying data sources that populate those tools. This article emphasizes how to use the Aunsight Web interface to deploy these filters, but since the filters themselves must be written in JSON according to a Sightglass-specific data ontology, you may wish to familiarize yourself with how to write Sightglass filter JSON before or after reading this article.
Add or Edit a Member Filter Using Sightglass Admin
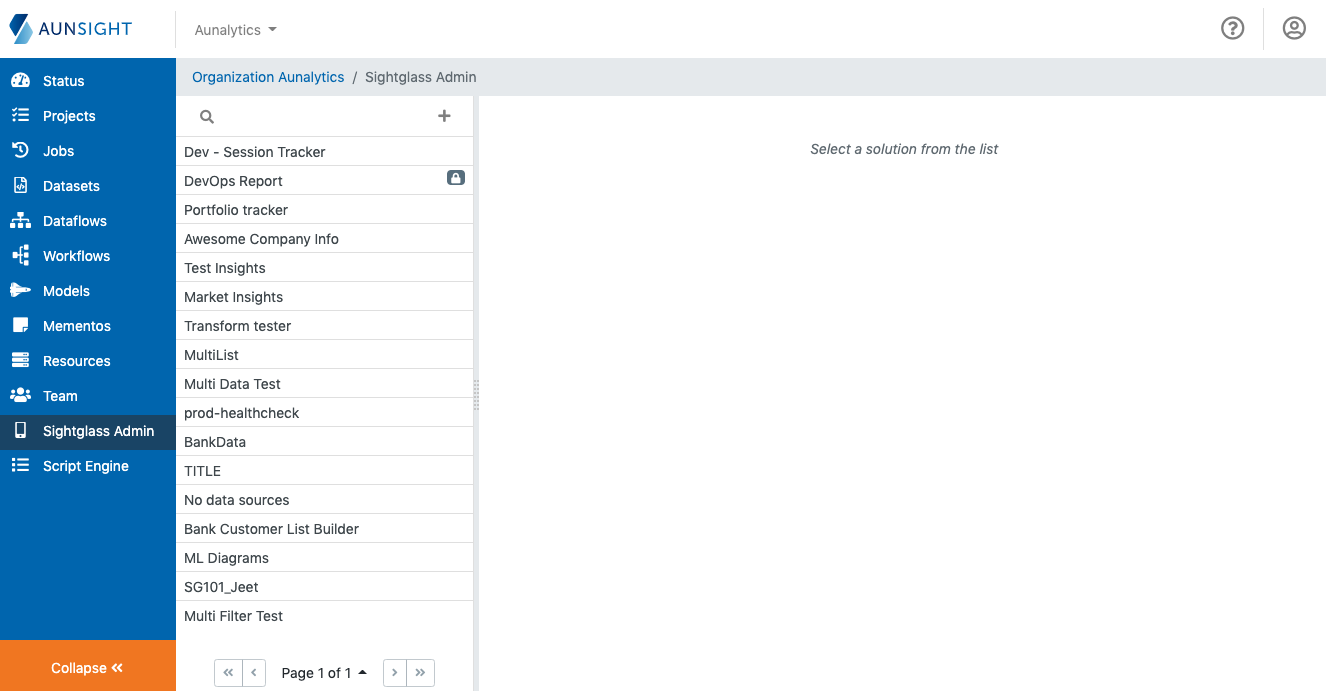
From the Aunsight Web interface, check the Click the "Sightglass Admin" icon (![]() ) on the palette on the left. Search the list for the solution you want to work with and click its name to bring up its details.
) on the palette on the left. Search the list for the solution you want to work with and click its name to bring up its details.
Each Sightglass solution's details are spread across several tabs. Click the "Solutions Users" tab to view a table of members who have access to that solution. Search or sort the list to find the member you wish to edit. Or click the "Add" member button ( ) to add a new member to the solution.
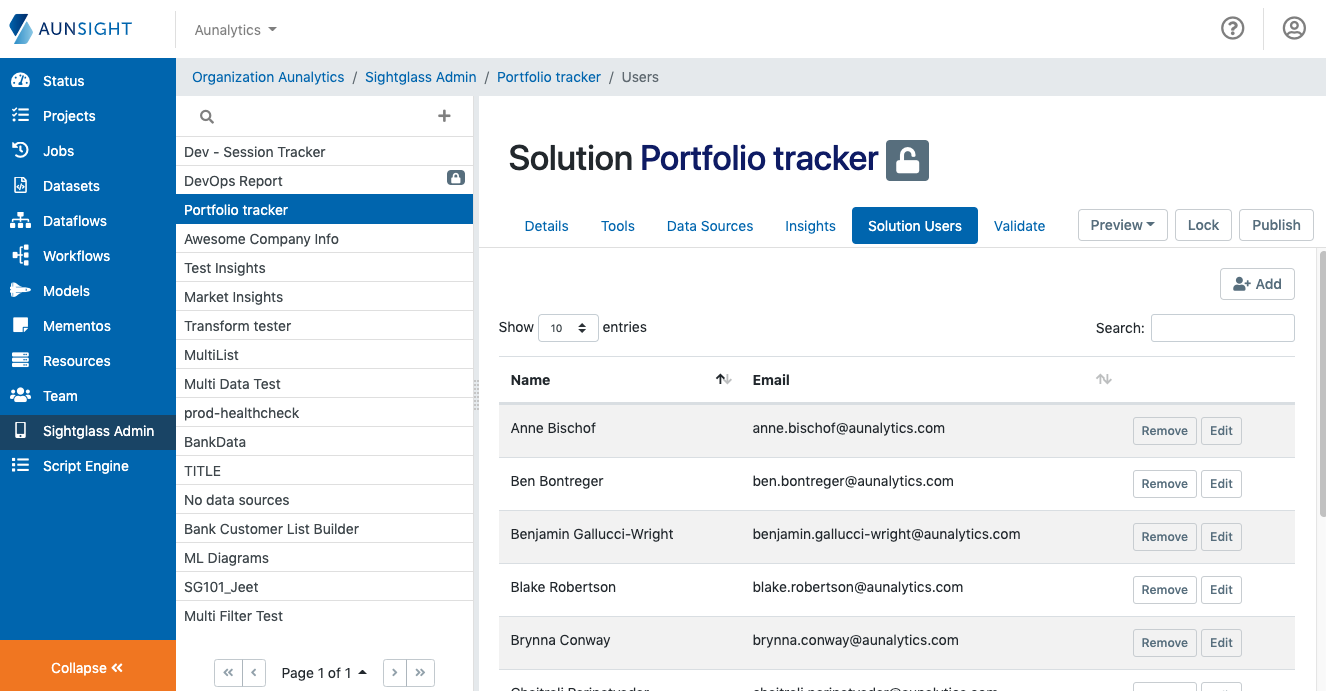
When you have found the desired member, click the "Edit" button ( ) on the far right of the row with the member's name to bring up the member filter editor.
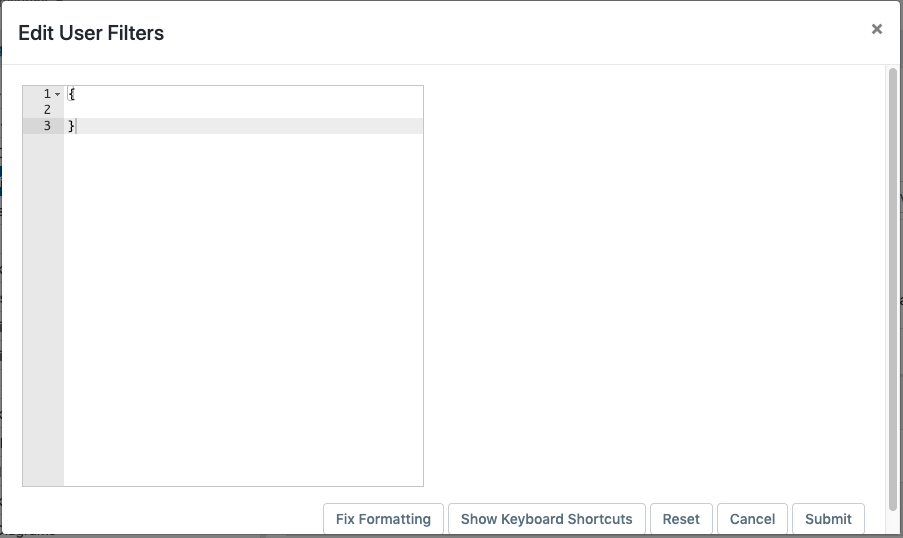
The filter editor feature of Sightglass Admin allows you to easily edit the underlying JSON code used to filter the data served to that user's mobile app or web browser. Sightglass data filters must be written in JSON in accordance with the Sightglass filter ontology. This ontology or "language" allows the user to filter on two levels: The availability of specific Sightglass tools defined for a solution, and then the data that is used to populate those tools.
Filtering Tools
Sightglass dashboards are composed of various display elements called "Tools." There are several types of tools, but the most common type is the AtomTool, which allows Sightglass to display data from a data_source.
From the Sightglass solution details in the Web interface, you can find a list of tools in a solution by selecting the "Tools" tab from the detail view of a given solution.
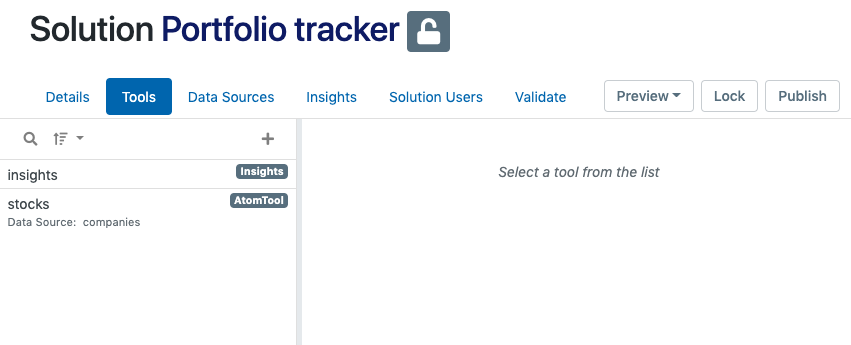
In this example, there is an AtomTool named "stocks" defined in the solution. To filter this so that a particular user does not see that tool in their Sightglass dashboard, click the "Solution Users" tab. Search the subscribed members list and click the "Edit" button () to bring up the filter editor.
To disable one or more tools, create a disabled_tools JSON object whose sole element is an array of Strings naming the tools you want to disable. For example to disable the "stocks" tool from appearing in the dashboard of the solution shown above, enter the following code in the editor:
{
    "disabled_tools": [
        "stocks"
    ]
}
If you want to disable more than one tool, simply add all the names as elements of the array: "disabled_tools": ["stocks", "bonds", "futures"]
Note
There is no need to indent your JSON as the editor automatically adjusts tabs and whitespace for optimum readability. Simply enter validly constructed JSON and click "Submit." The editor will automatically adjust tabs and whitespace the next time you open it.
Once you have written and validated JSON code for the filter, click "Submit" to return to the Sightglass solution details. Before your changes will take effect, however, you need to publish the solution to the Cloud server so that it can be accessed by the mobile app or Sightglass web app. Click the "Publish" button ( ) to deploy your changes to the Cloud.
Filtering Data
Just as Sightglass tool filters control what tools will appear in a user's dashboard, data filters allow you specify what data records will be passed on to those tools.
Data filters are defined in a data_source_filters object. Since the filters are applied to the solution's data sources and not to the tools, data filters are defined as an array of filter objects that is the sole attribute of a JSON element with the name of a data source.
From the Web interface, you can find a list of data sources in a solution, click the "Data Sources" tab of the Sightglass solution you want to edit.
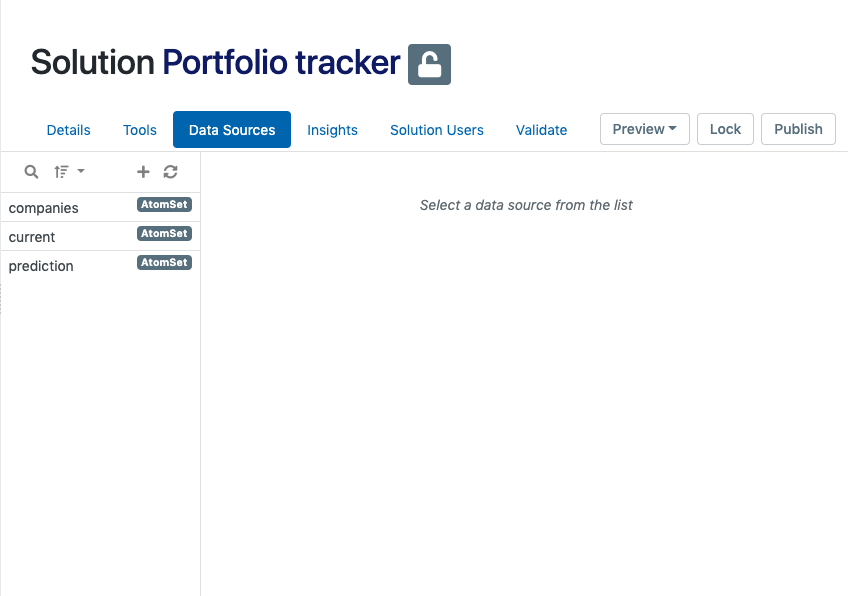
Clicking the name of a data source will bring up details about it. Scroll down to the "Attributes" section to see a list of the defined attributes (or fields) this data source provides for the AtomSet it generates.
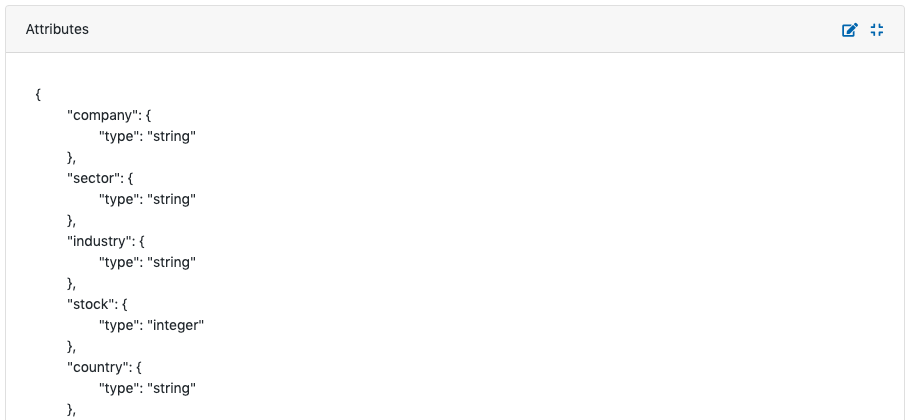
AtomSet attributes are defined in JSON and give a field name followed by more attributes, usually just the "type" which defines the field's datatype. In this example, we can see that the "companies" data source has fields like "company", "sector", "industry", "stock", and "country" among others. The datatype of all the fields is "String", except for "stock" which has the integer datatype.
To apply a member-specific data filter to this data source, click the "Solution Users" tab. Search the subscribed members list and click the "Edit" button () to bring up the filter editor.
To add a filter to this data source, create a data_source_filters JSON object whose elements are the names of the data source(s) you want to filter. In this example, we want to filter by the "companies" data source, so we create an element named "companies" and add as its attribute an array of filter objects.
Filter objects are defined as three name/value pairs: - "field": the data source field to filter - "op": the logical operator we want to filter - "value": the value to use in evaluation the operator expression.
So for example, to filter this user's Sightglass tool to display only stocks from companies in Germany, we would add the following filter.
"data_source_filters": {
    "companies": [
        {
            "field": "country",
            "value": "Germany",
            "op": "eq"
        }
    ]
}
In the preceding example, the "companies" data source has an array with one filter object as its sole element. The filter object has the three name/value pairs required by the Sightglass filter ontology: "field" specifies the "country" field in the data source as the one we want to filter. The "op" field has the "eq" (equals) operator as its value, meaning we want to only show records where the "country" field matches a specific value. In this case, we have specified the "value" to "Germany" so that it will return records where the company's country is Germany.
There are other operators defined in the Sightglass filter ontology that provide different ways to filter data based on specified values. To learn more about filtering data for Sightglass members, see the technical reference on the Sightglass filter ontology.
Once you have written and validated JSON code for the filter, click "Submit" to return to the Sightglass solution details. Before your changes will take effect, however, you need to publish the solution to the Cloud server so that it can be accessed by the mobile app or Sightglass web app. Click the "Publish" button () to deploy your changes to the Cloud.